Subjects
Grades
This concept sheet explains the procedure to follow to identify minerals.
Minerals are natural substances that differ from each other in their chemical composition. Therefore, they have properties that differ according to the elements that compose them. The following tests can help to identify the properties of a mineral and eventually to determine its identity.
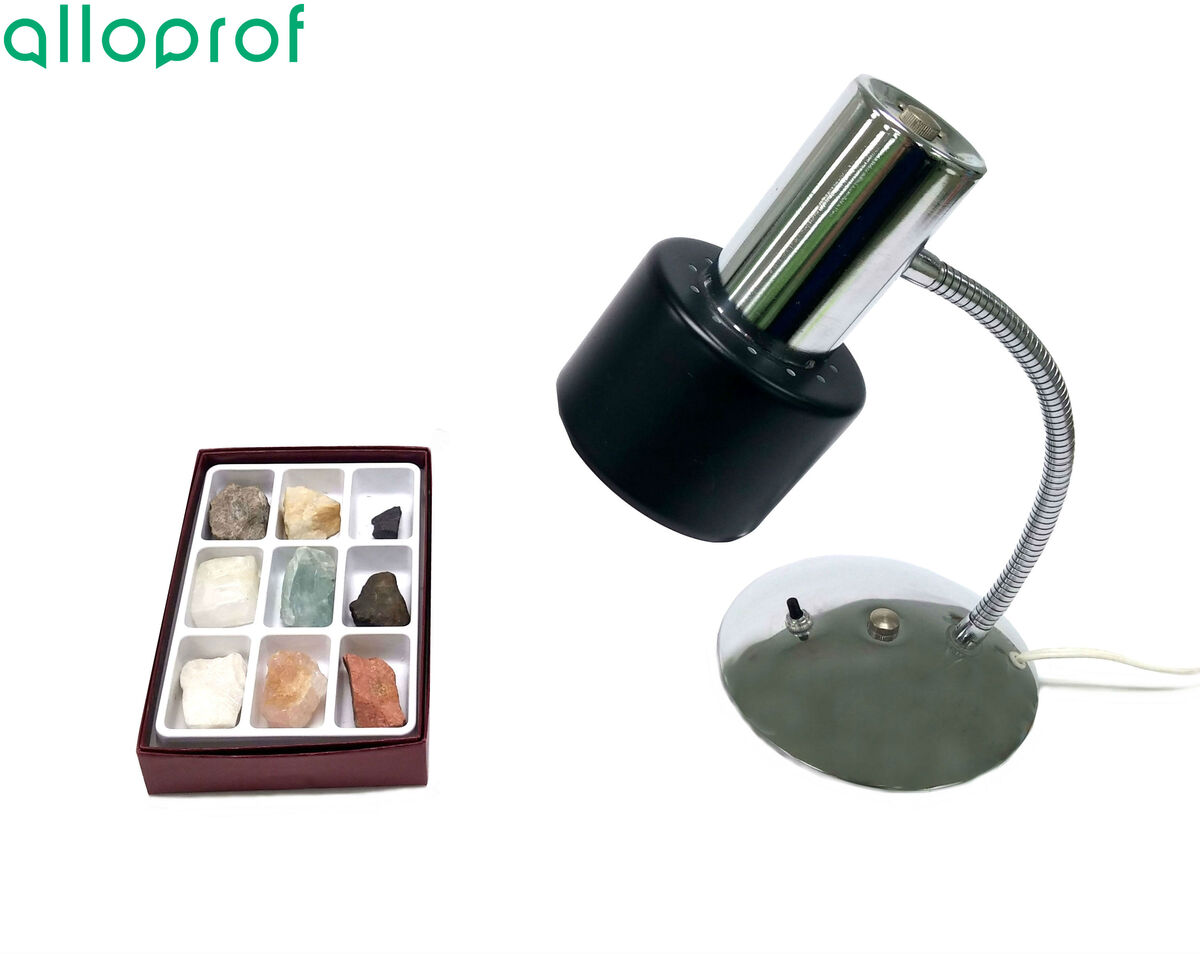
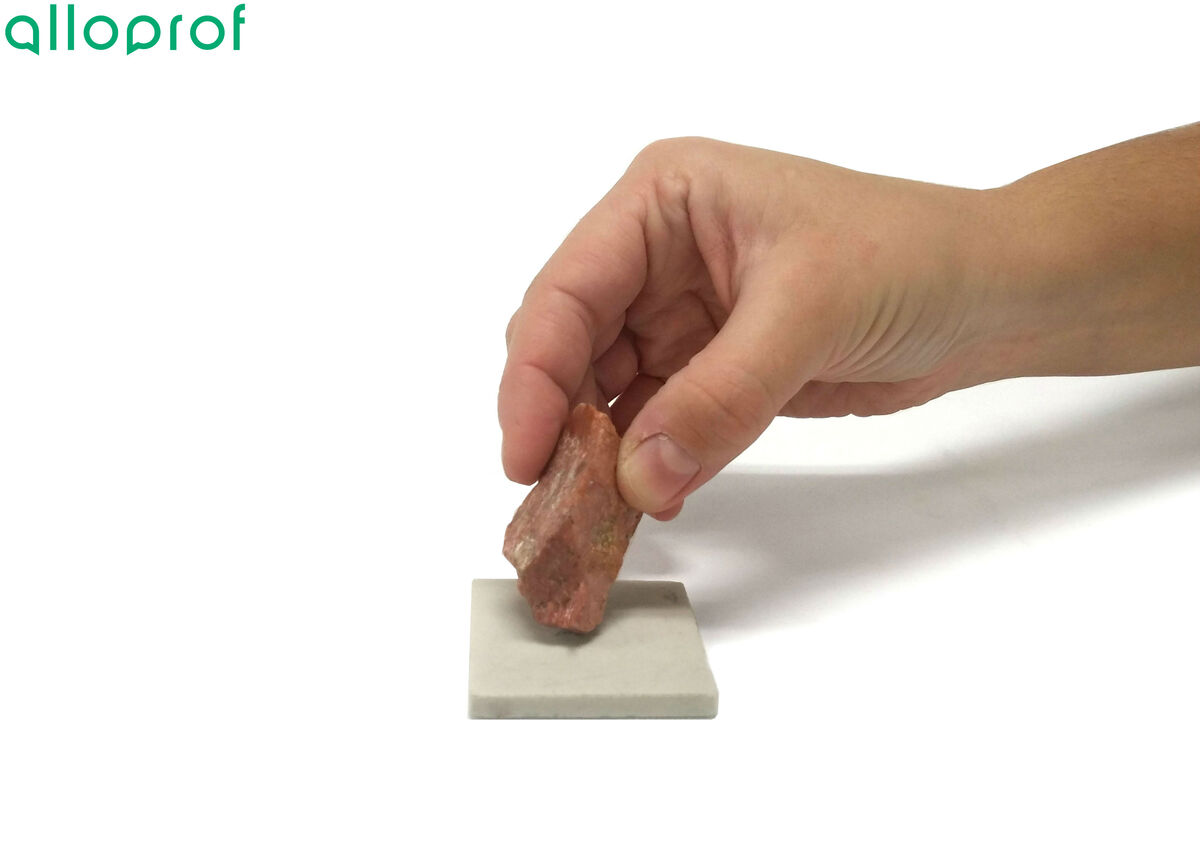
1. Place the mineral under the light source.
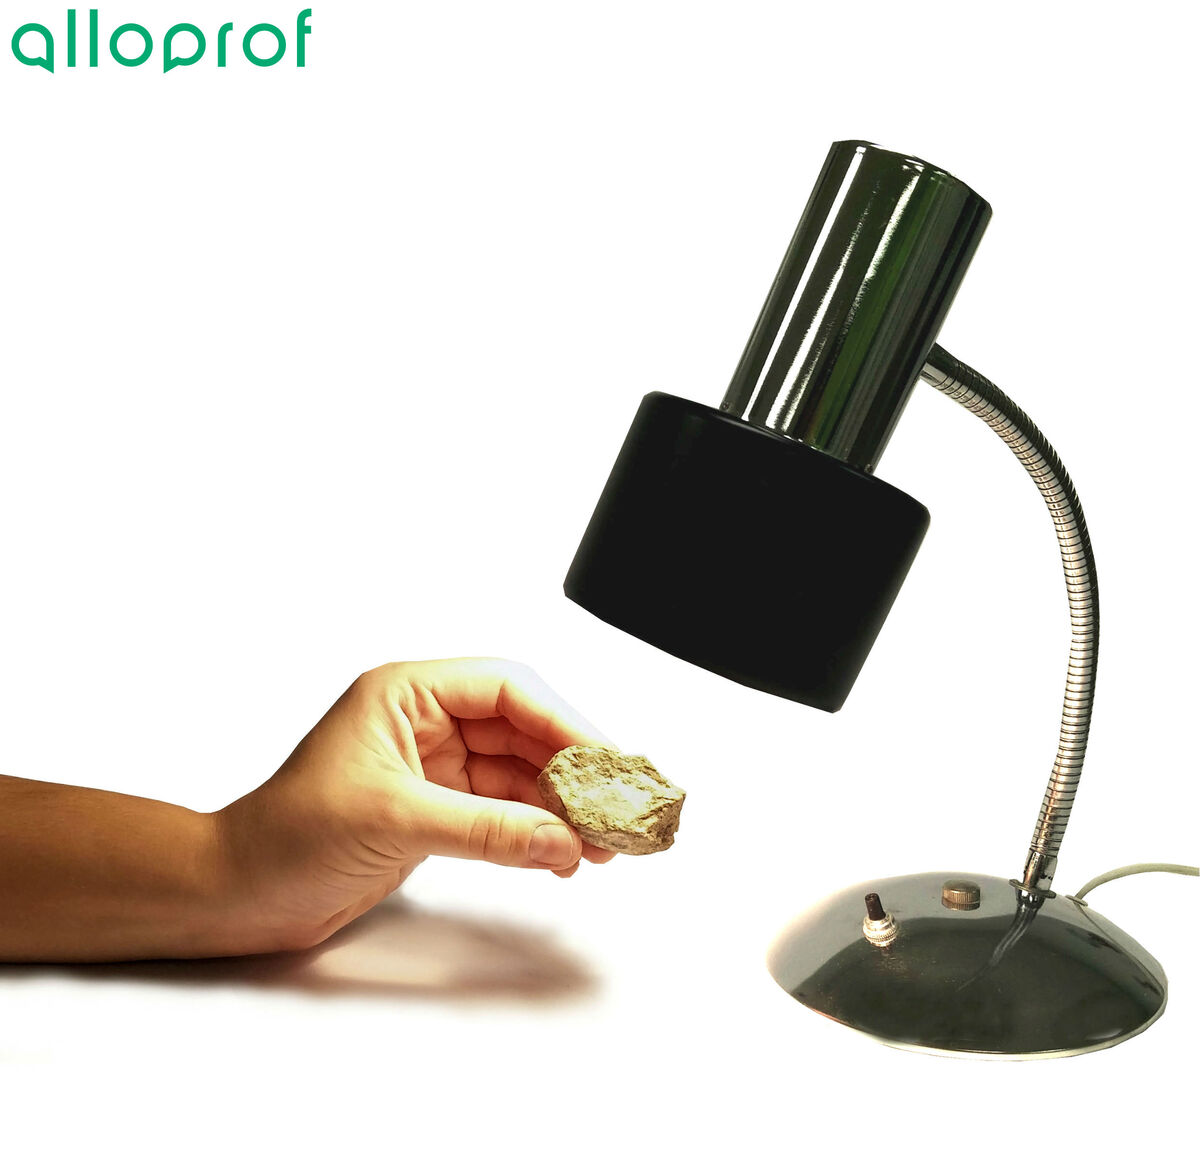
2. Rotate the mineral at all angles to observe the way in which the light is reflected by the mineral.
The mineral used below, apatite, has no reflective surface. It is therefore classified among nonmetallic minerals.
3. Put away the equipment.
Depending on the mineral's ability to reflect light, it will be classified into one of the following categories:
| Results | Examples |
| If it has at least one highly reflective and shiny surface, the mineral will be classified among those with a metallic lustre. | Gold, pyrite, and magnetite are examples of metallic minerals. |
| If it has a more or less reflective surface, the mineral is said to have a submetallic lustre. | Sphalerite, cassiterite, and tantalite are examples of submetallic minerals. |
| If it does not have any reflective surface, this mineral will be considered nonmetallic. | Examples of nonmetallic minerals are quartz, topaz, and corundum. |
Among the nonmetallic minerals, there are sub-categories to specify the mineral’s appearance. Vitreous (such as quartz), waxy (such as talc), adamantine (which means “having the lustre of diamond”), or pearly can be used as qualifiers.
For more information on lustre, refer to the section on optical properties of minerals.
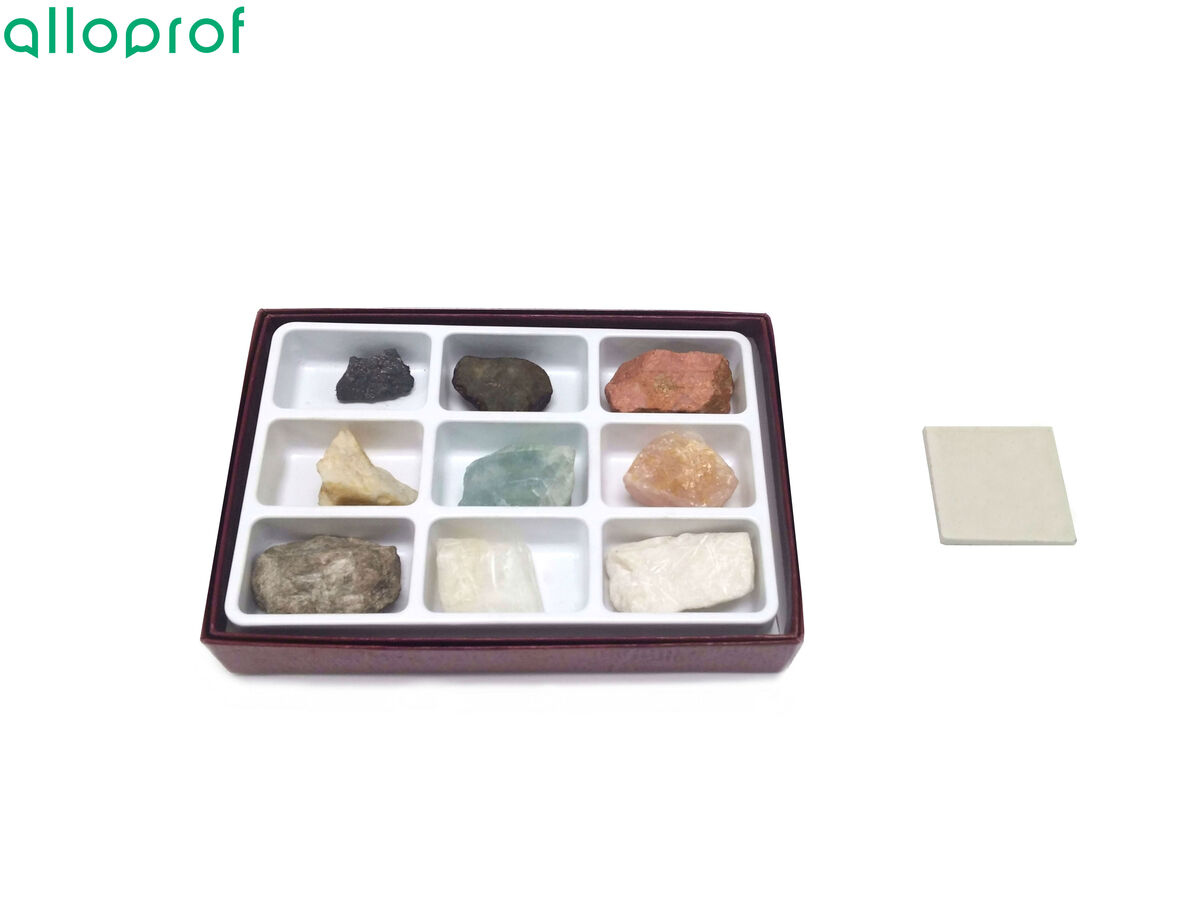
1. Rub the mineral on the porcelain plate.
2. Observe the colour of the streak produced on the porcelain plate.
In the image below, the feldspar produced a pink streak.

3. Put away the equipment.
The streak result does not allow the mineral to be identified with certainty. The experiment gives an important clue about the mineral to identify, but further identification tests must be carried out to confirm the identity of the mineral.
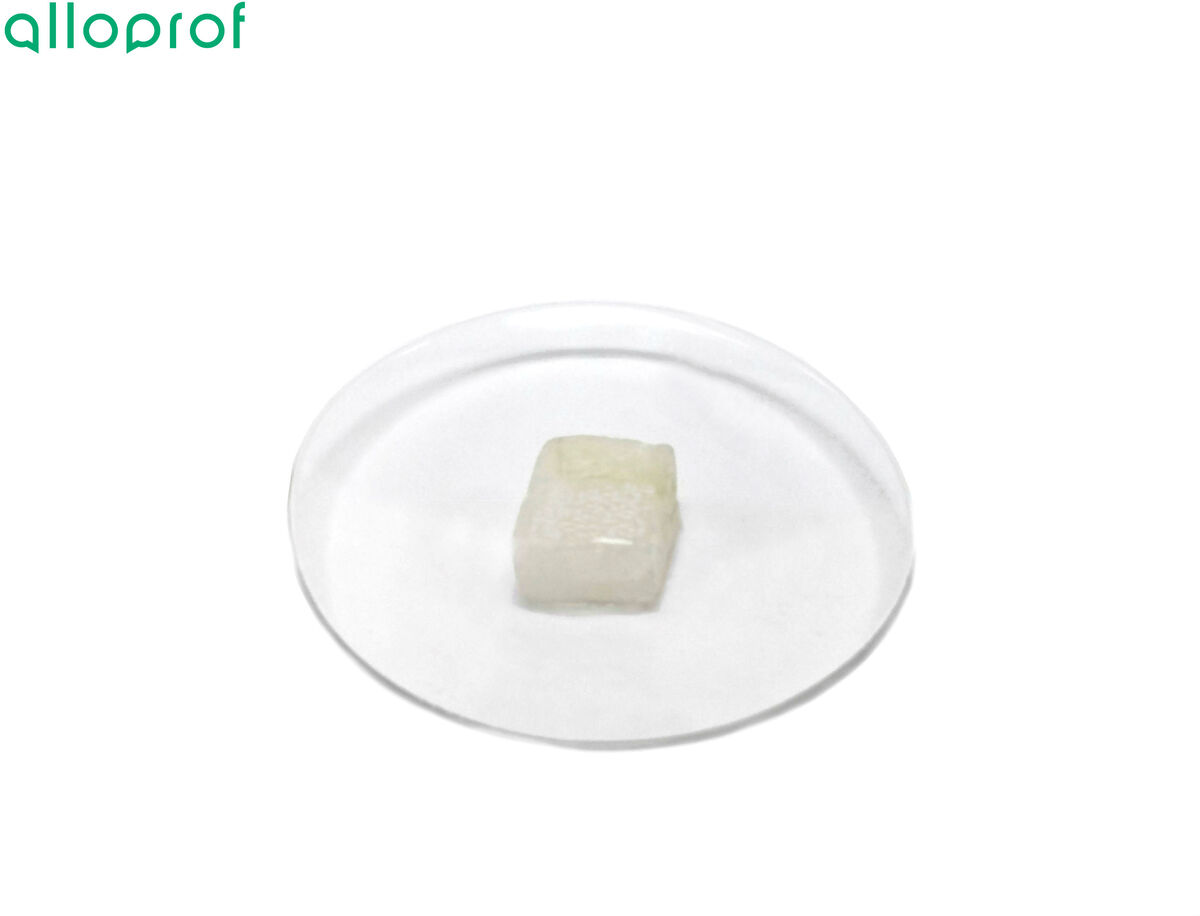
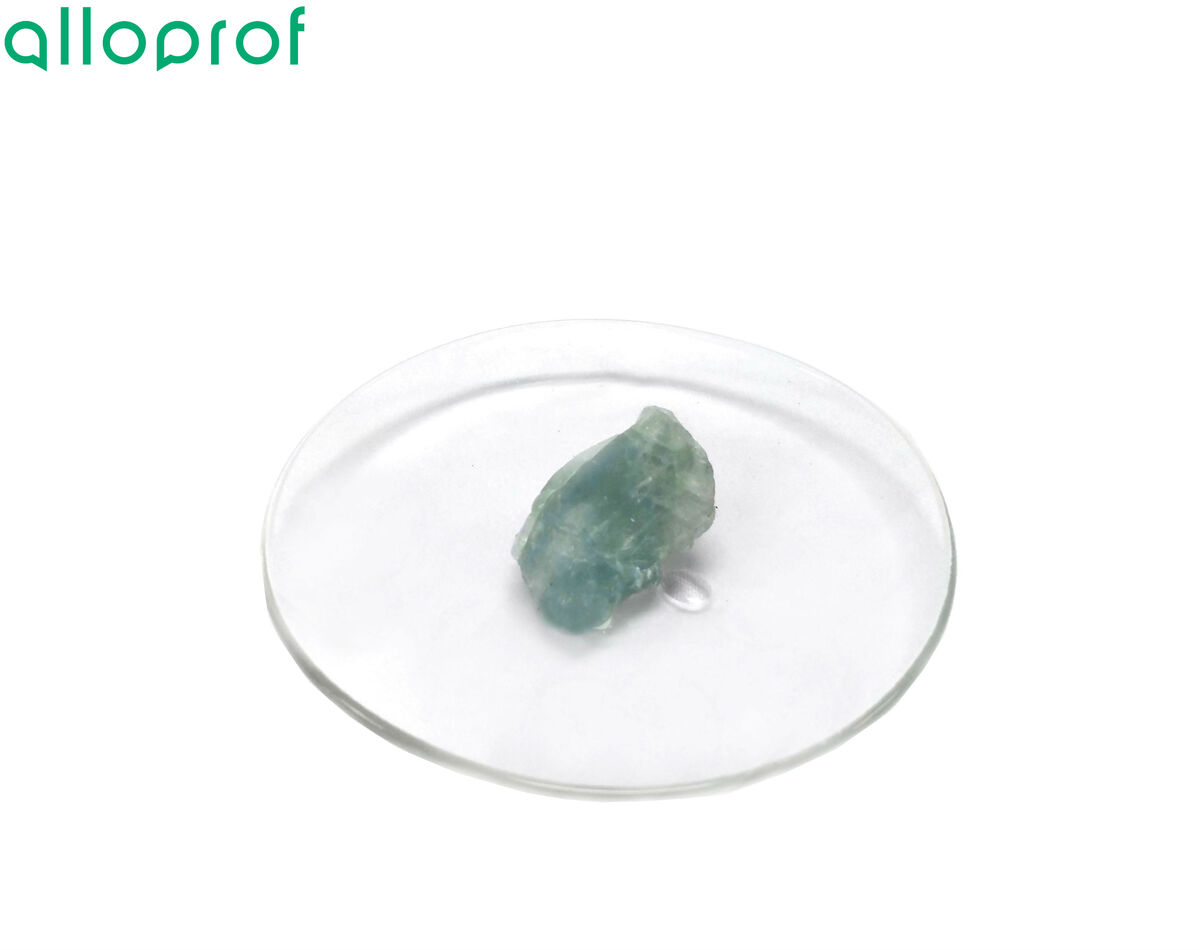
1. Put the mineral in the watch glass, and add a drop of hydrochloric acid on the mineral.
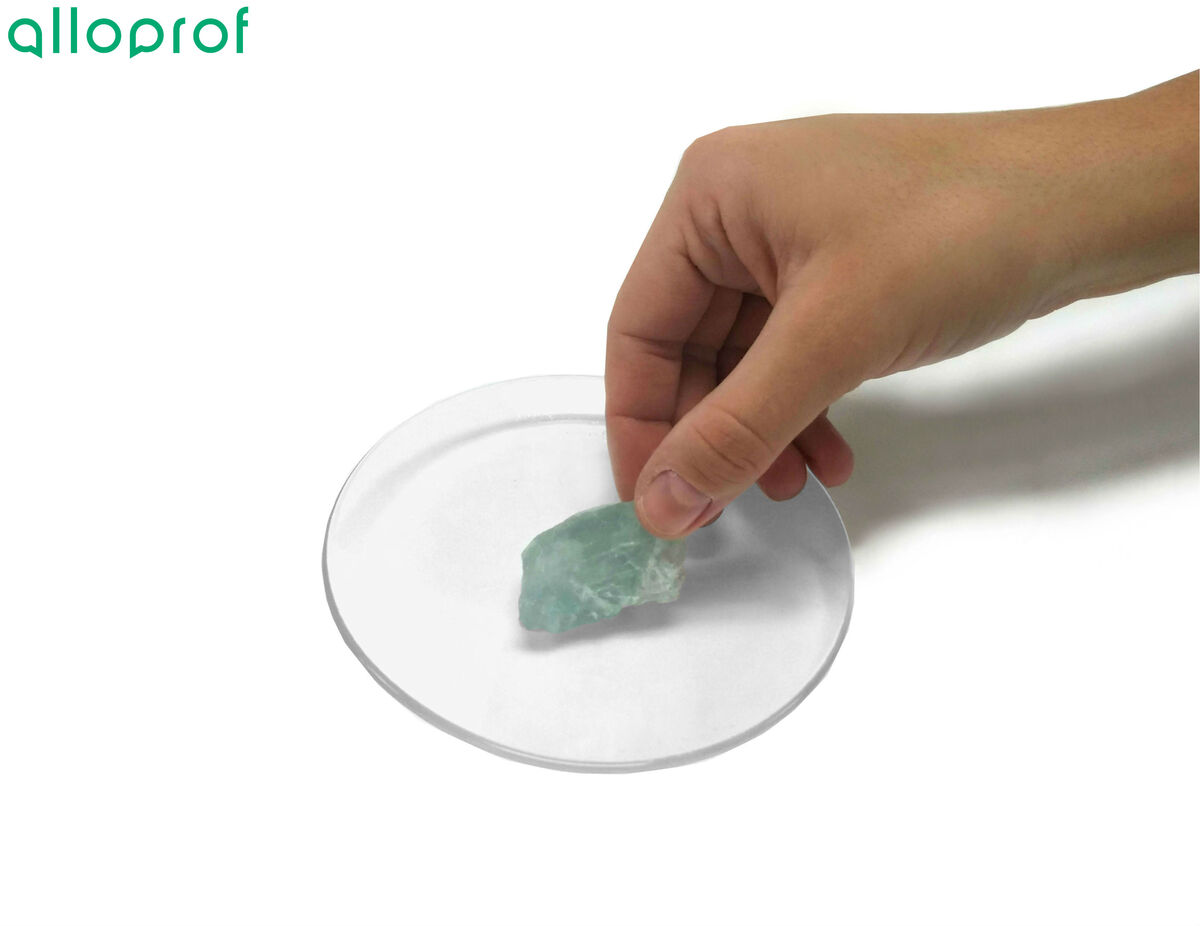
2. Put the mineral on the watch glass, and add a drop of hydrochloric acid on the mineral.
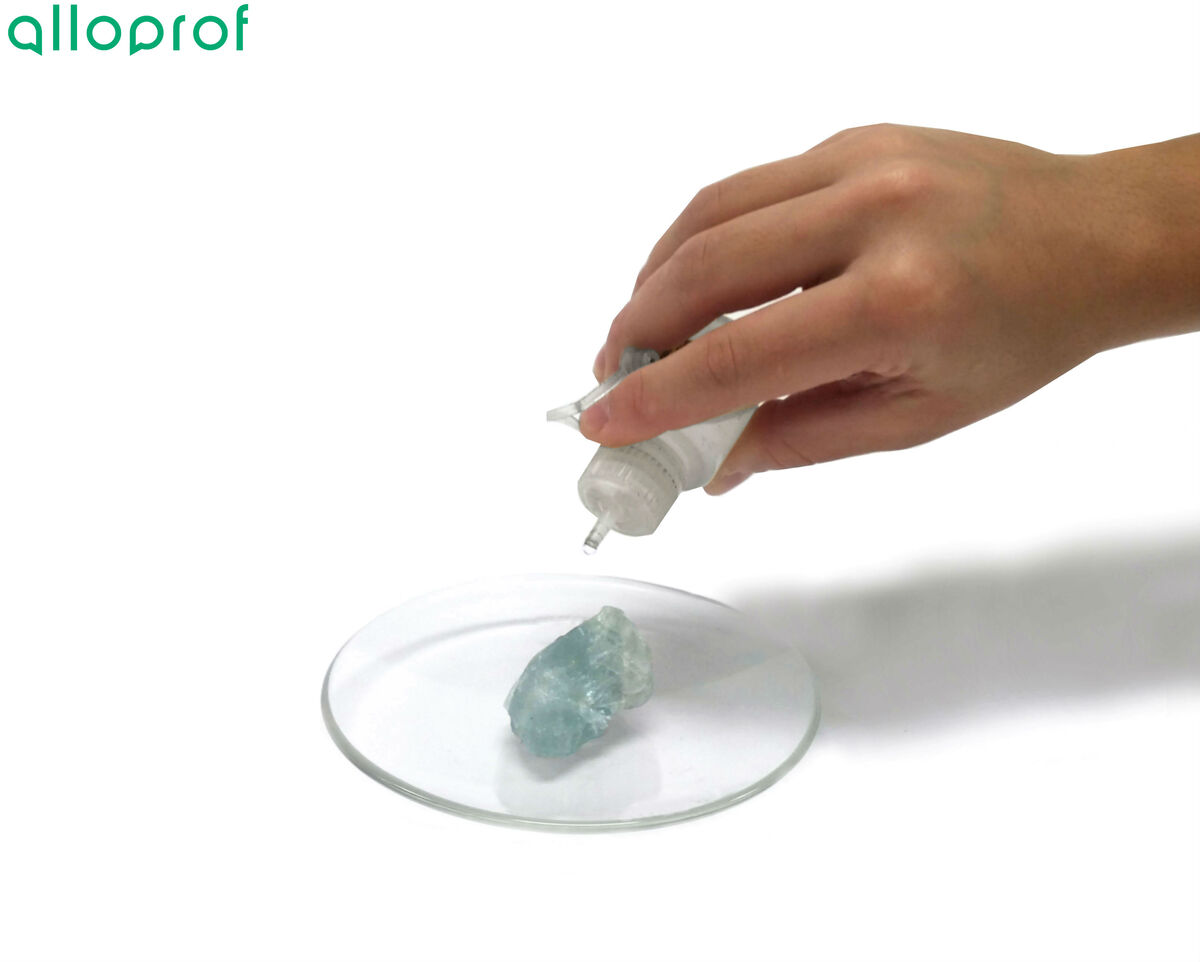
3. Observe whether an effervescence reaction occurs (formation of gas bubbles on the surface of the mineral).
In the image below, the fluorite does not produce any effervescence.

4. Clean and store the equipment.
It is important to clean the mineral in order to remove all traces of hydrochloric acid. Since this substance is concentrated, contact with the skin should be avoided. It is therefore recommended to handle the mineral with the beaker tongs and rinse it under water.
Effervescence occurs when a mineral reacts with an acid. Thus, two results may occur during this test.
For more information on effervescence, refer to the section on chemical properties of minerals.
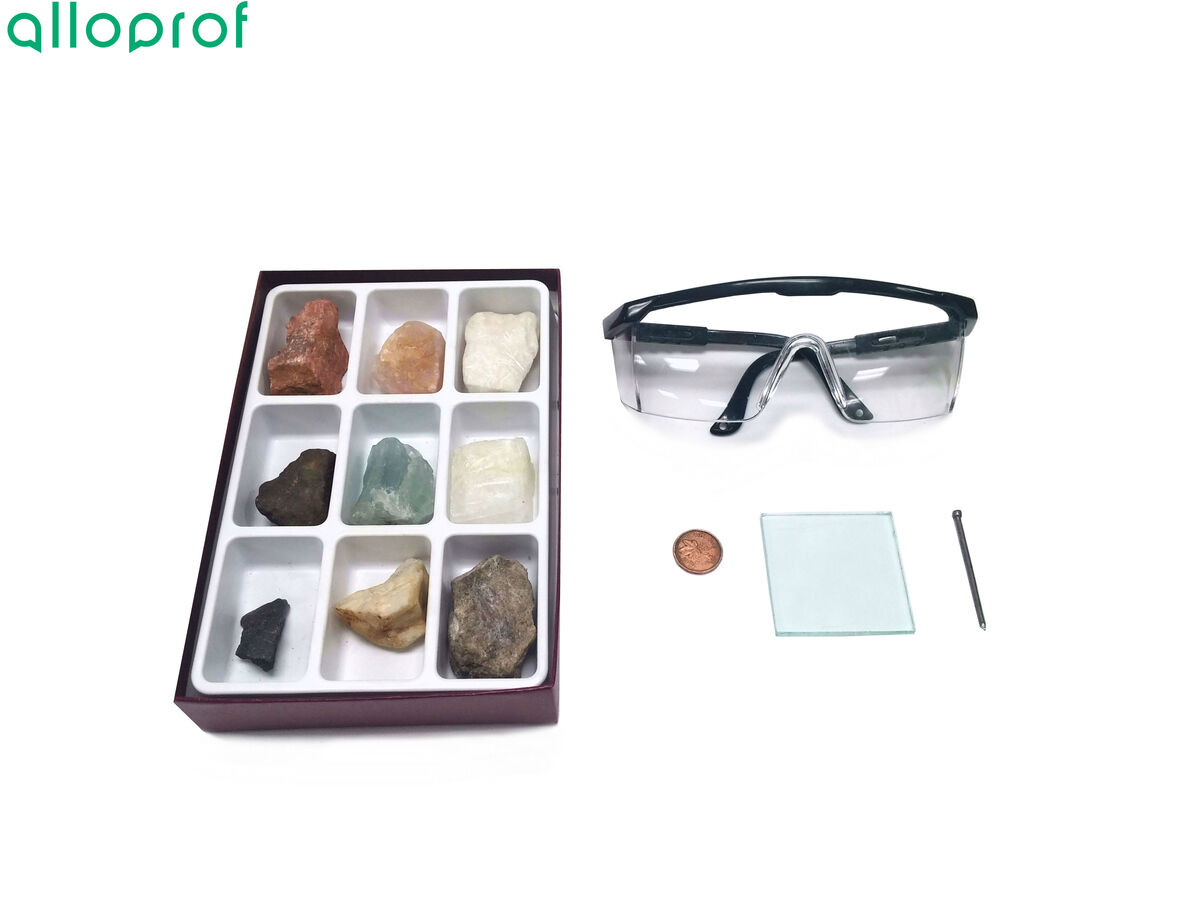
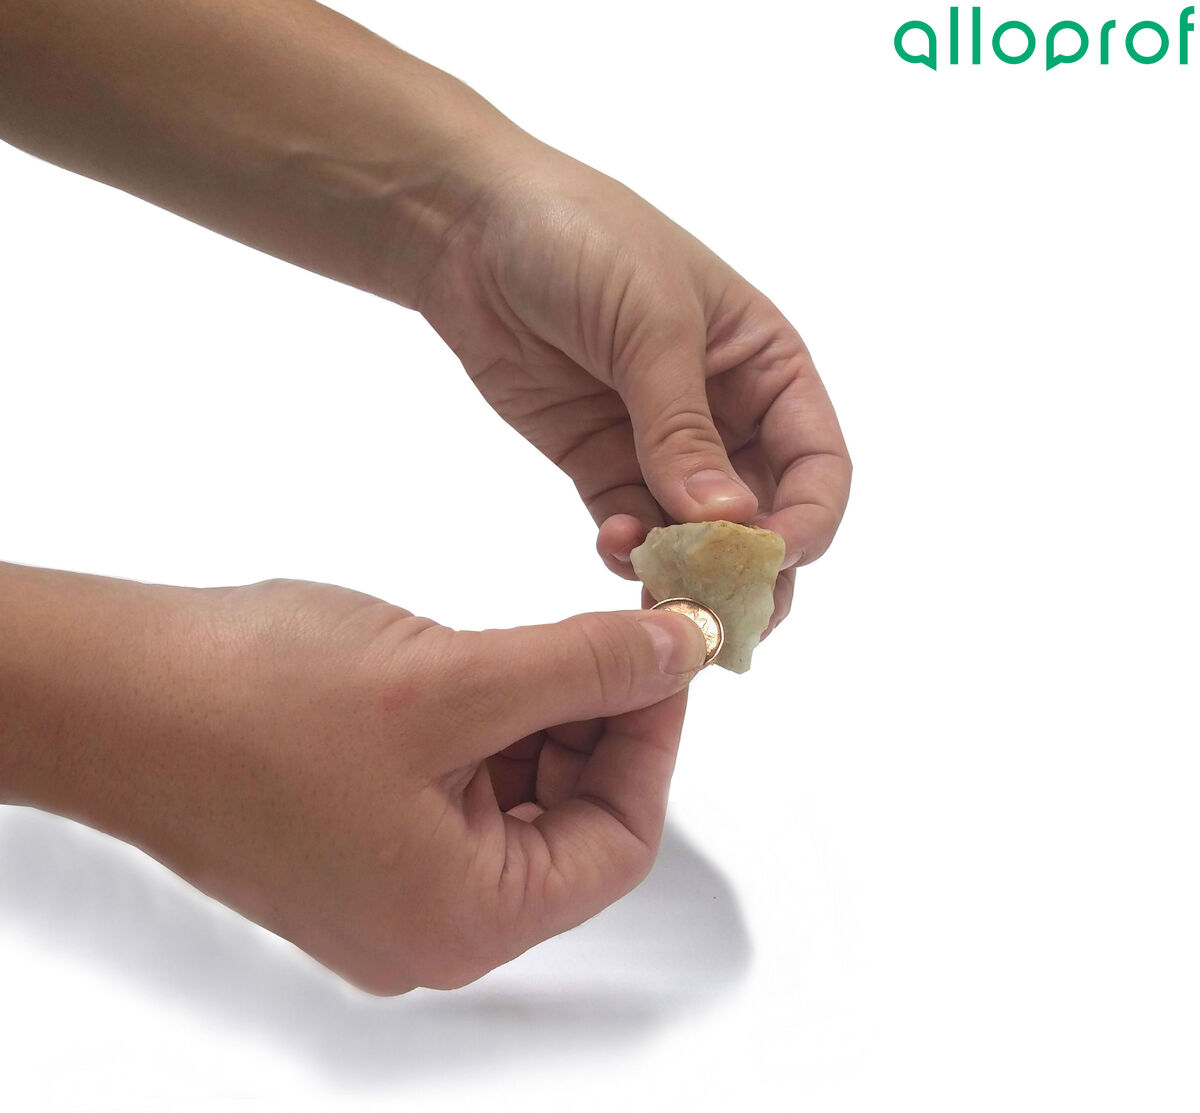
1. Attempt to scratch the mineral with a fingernail.
In the image below, the beryl has not been scratched by the nail.
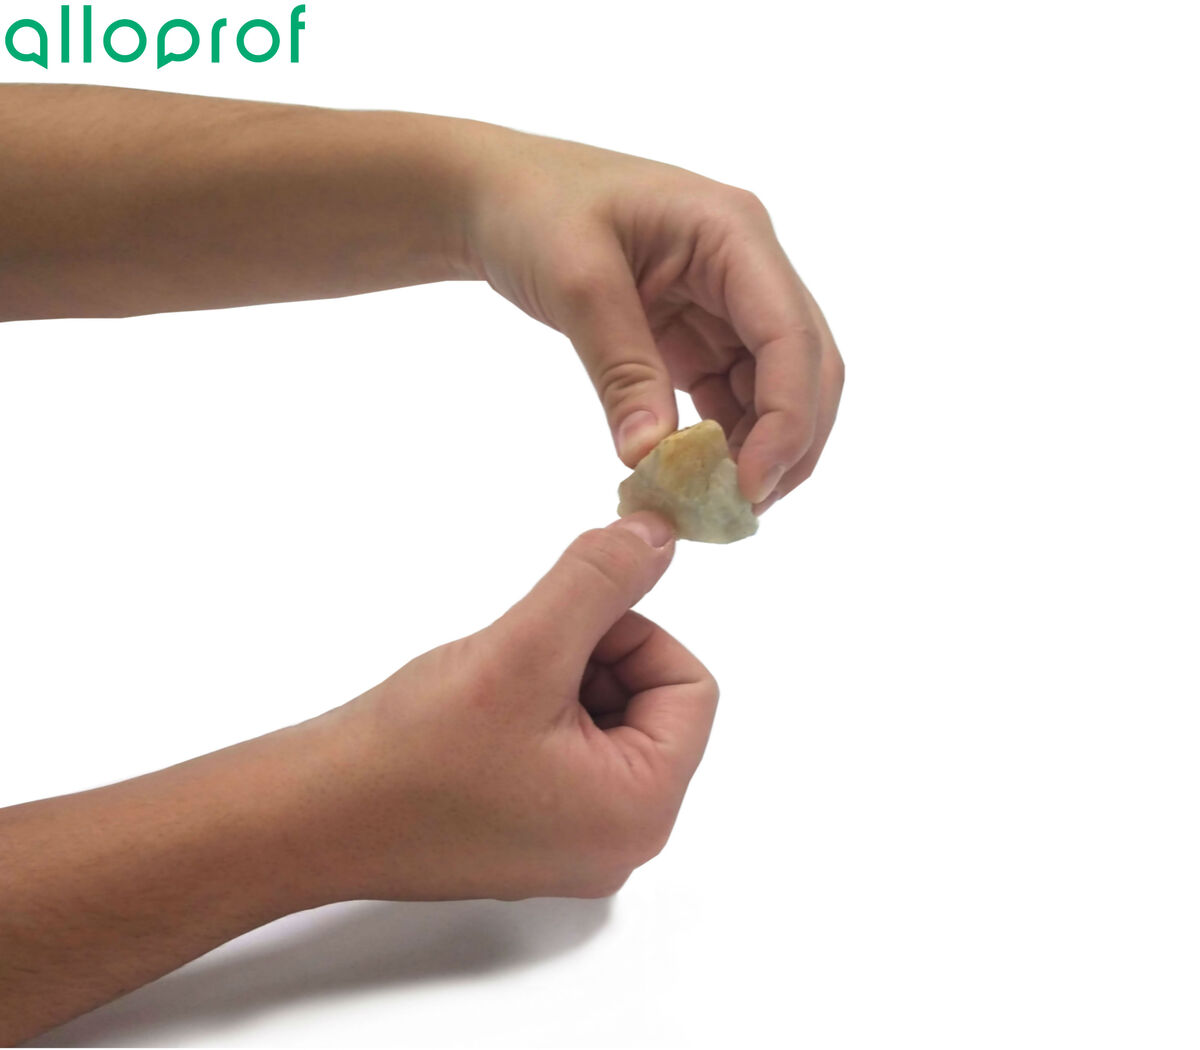
2. Observe if the mineral has been scratched.
If the mineral has been scratched by the fingernail, it is irrelevant to continue further testing, since a mineral scratched by a fingernail will obviously be scratched by a copper coin and a nail.
3. Attempt to scratch the mineral with a copper coin.
In the image below, the beryl has not been scratched by the copper coin.
4. Observe if the mineral has been scratched.
If the mineral has been scratched by the copper coin, it is irrelevant to continue further testing, since a mineral scratched by a copper coin will obviously be scratched by a nail.
5. Attempt to scratch the mineral with the nail.
In the image below, the beryl has not been scratched by the nail.
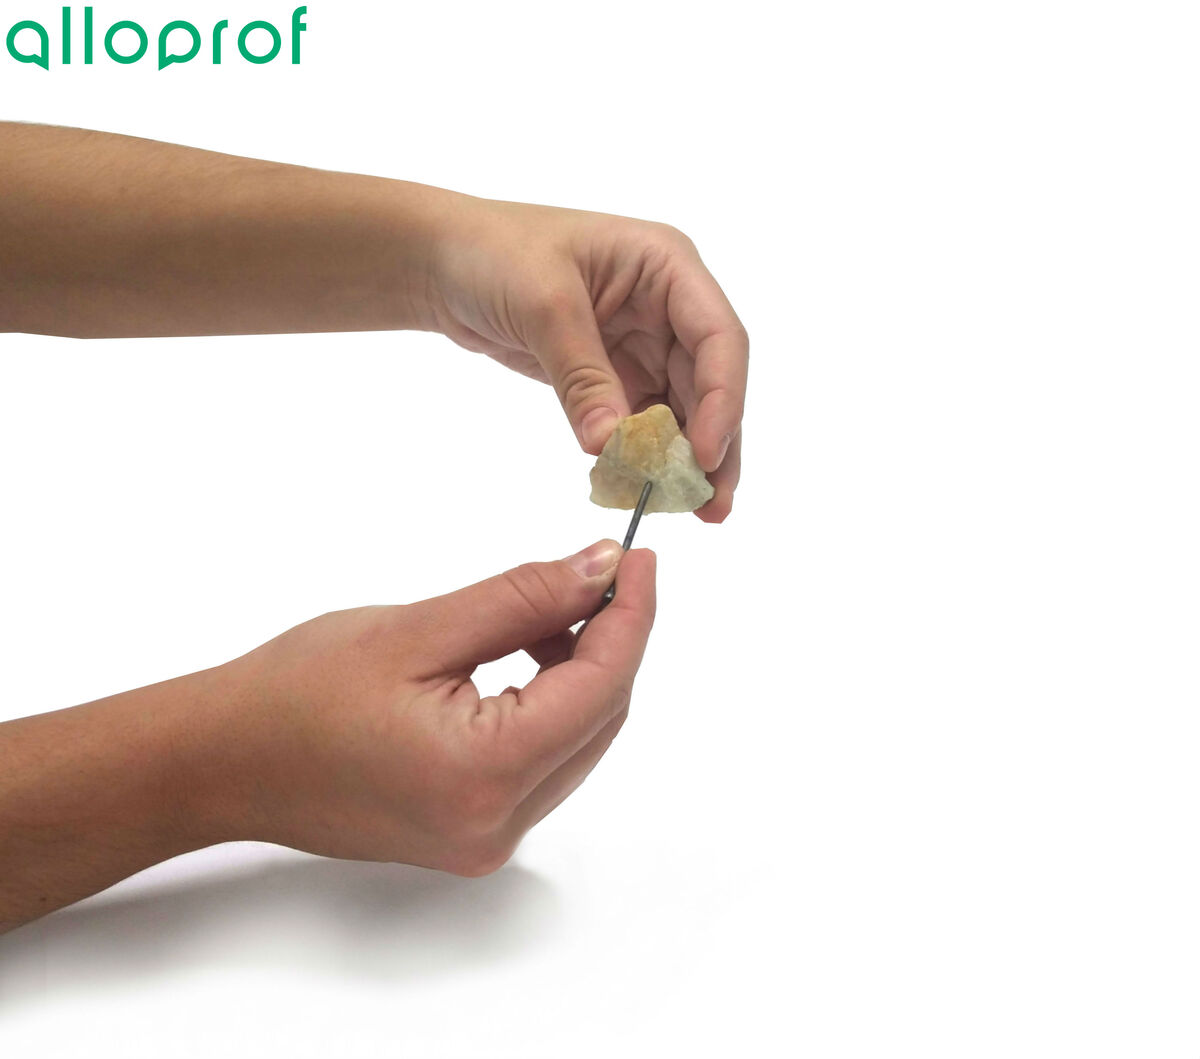
6. Observe if the mineral has been scratched.
7. Clean and store the equipment.
It is possible to classify the mineral on the Mohs scale according to the resulting scratch.
For more information on hardness, refer to the section on physical properties of minerals.
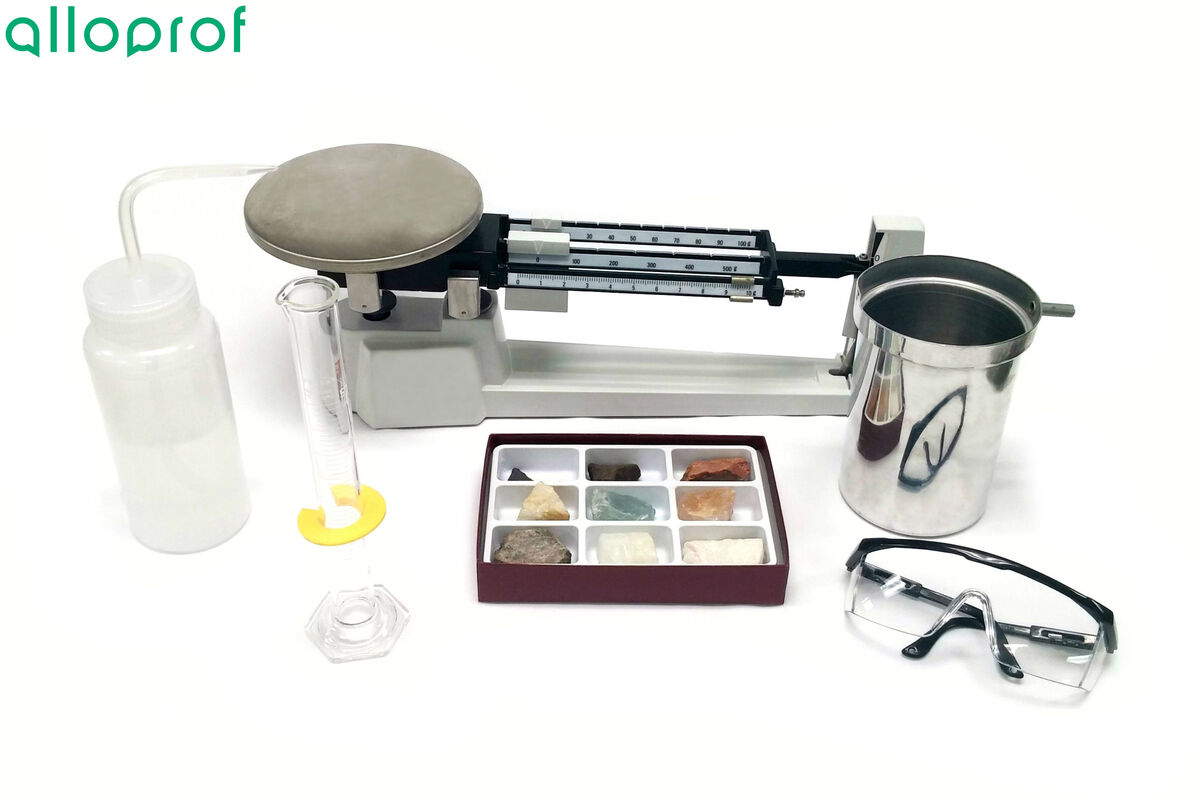
1. Calibrate the balance.
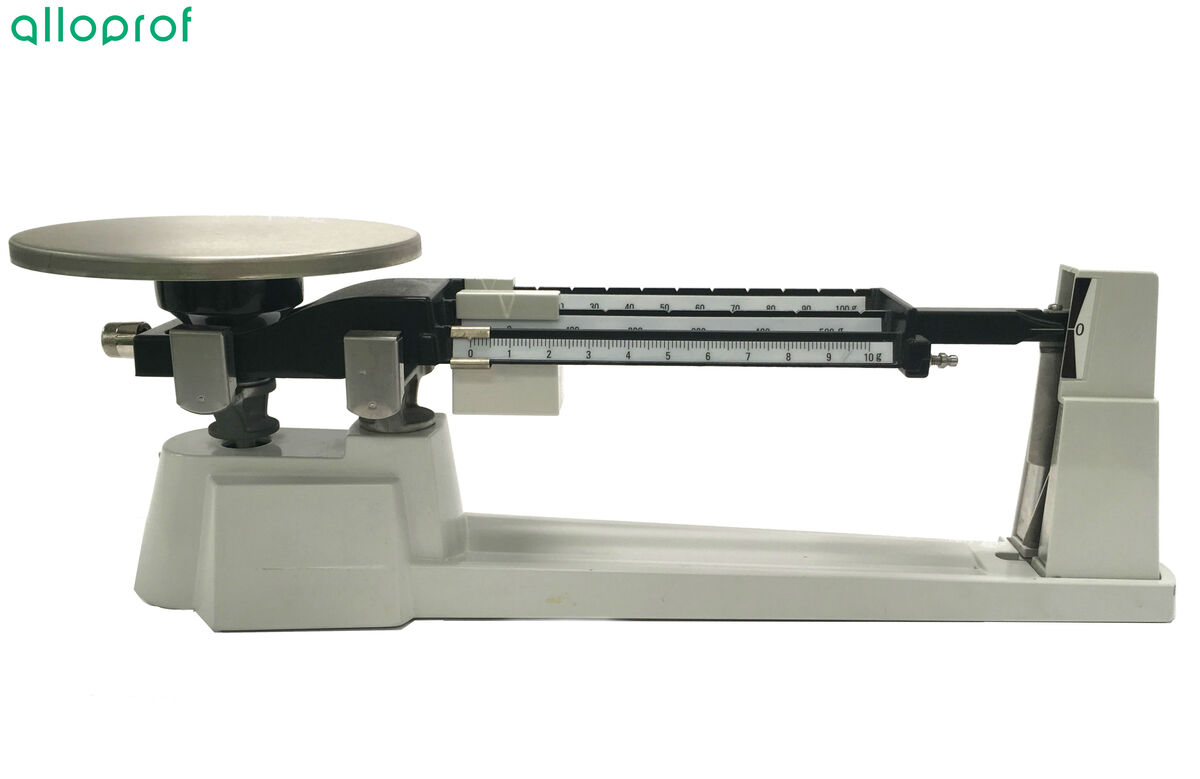
2. Weigh the mineral using the beam balance and record the mass.
The image below shows the procedure to follow with feldspar.

3. Pour water into the overflow vessel.
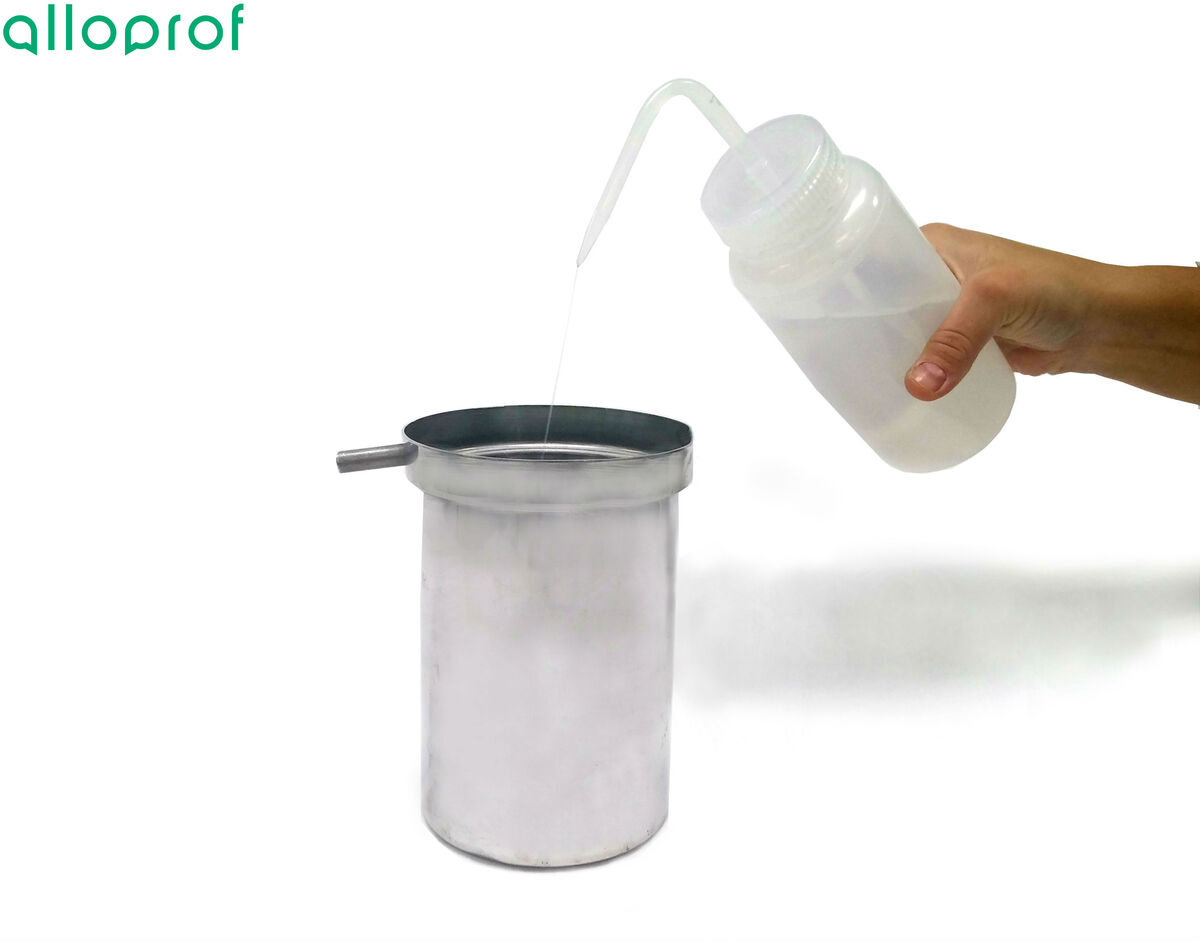
When filling the overflow vessel, water will come out through the spout. Make sure that the procedure is carried out over a sink, or that the water is collected to prevent someone from slipping on this water.
4. Place a graduated cylinder under the spout of the overflow vessel.
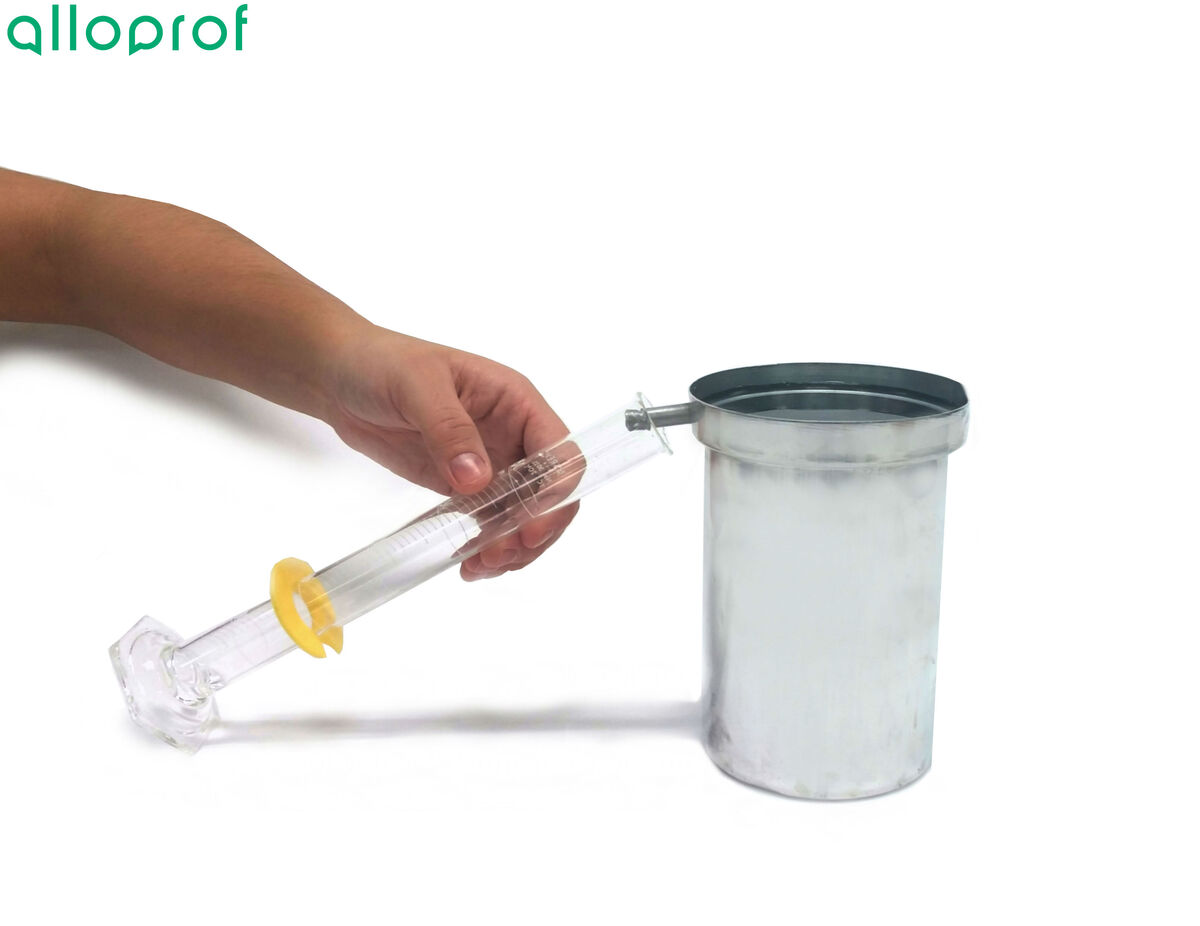
Make sure that the graduated cylinder is perfectly dry, since the presence of water in the graduated cylinder will affect the measured volume.
5. Gently place the mineral into the overflow vessel. At the same time, collect the water coming out of the spout of the overflow vessel into the graduated cylinder.

It is sometimes difficult to accurately estimate the flow of water that will come out of the spout. It is recommended to proceed calmly to properly assess the speed with which the water will come out of the overflow vessel.
Fingers should not be placed in the water, because the water displaced by the presence of fingers will add to the volume of the mineral. This will affect the measurement of the volume.
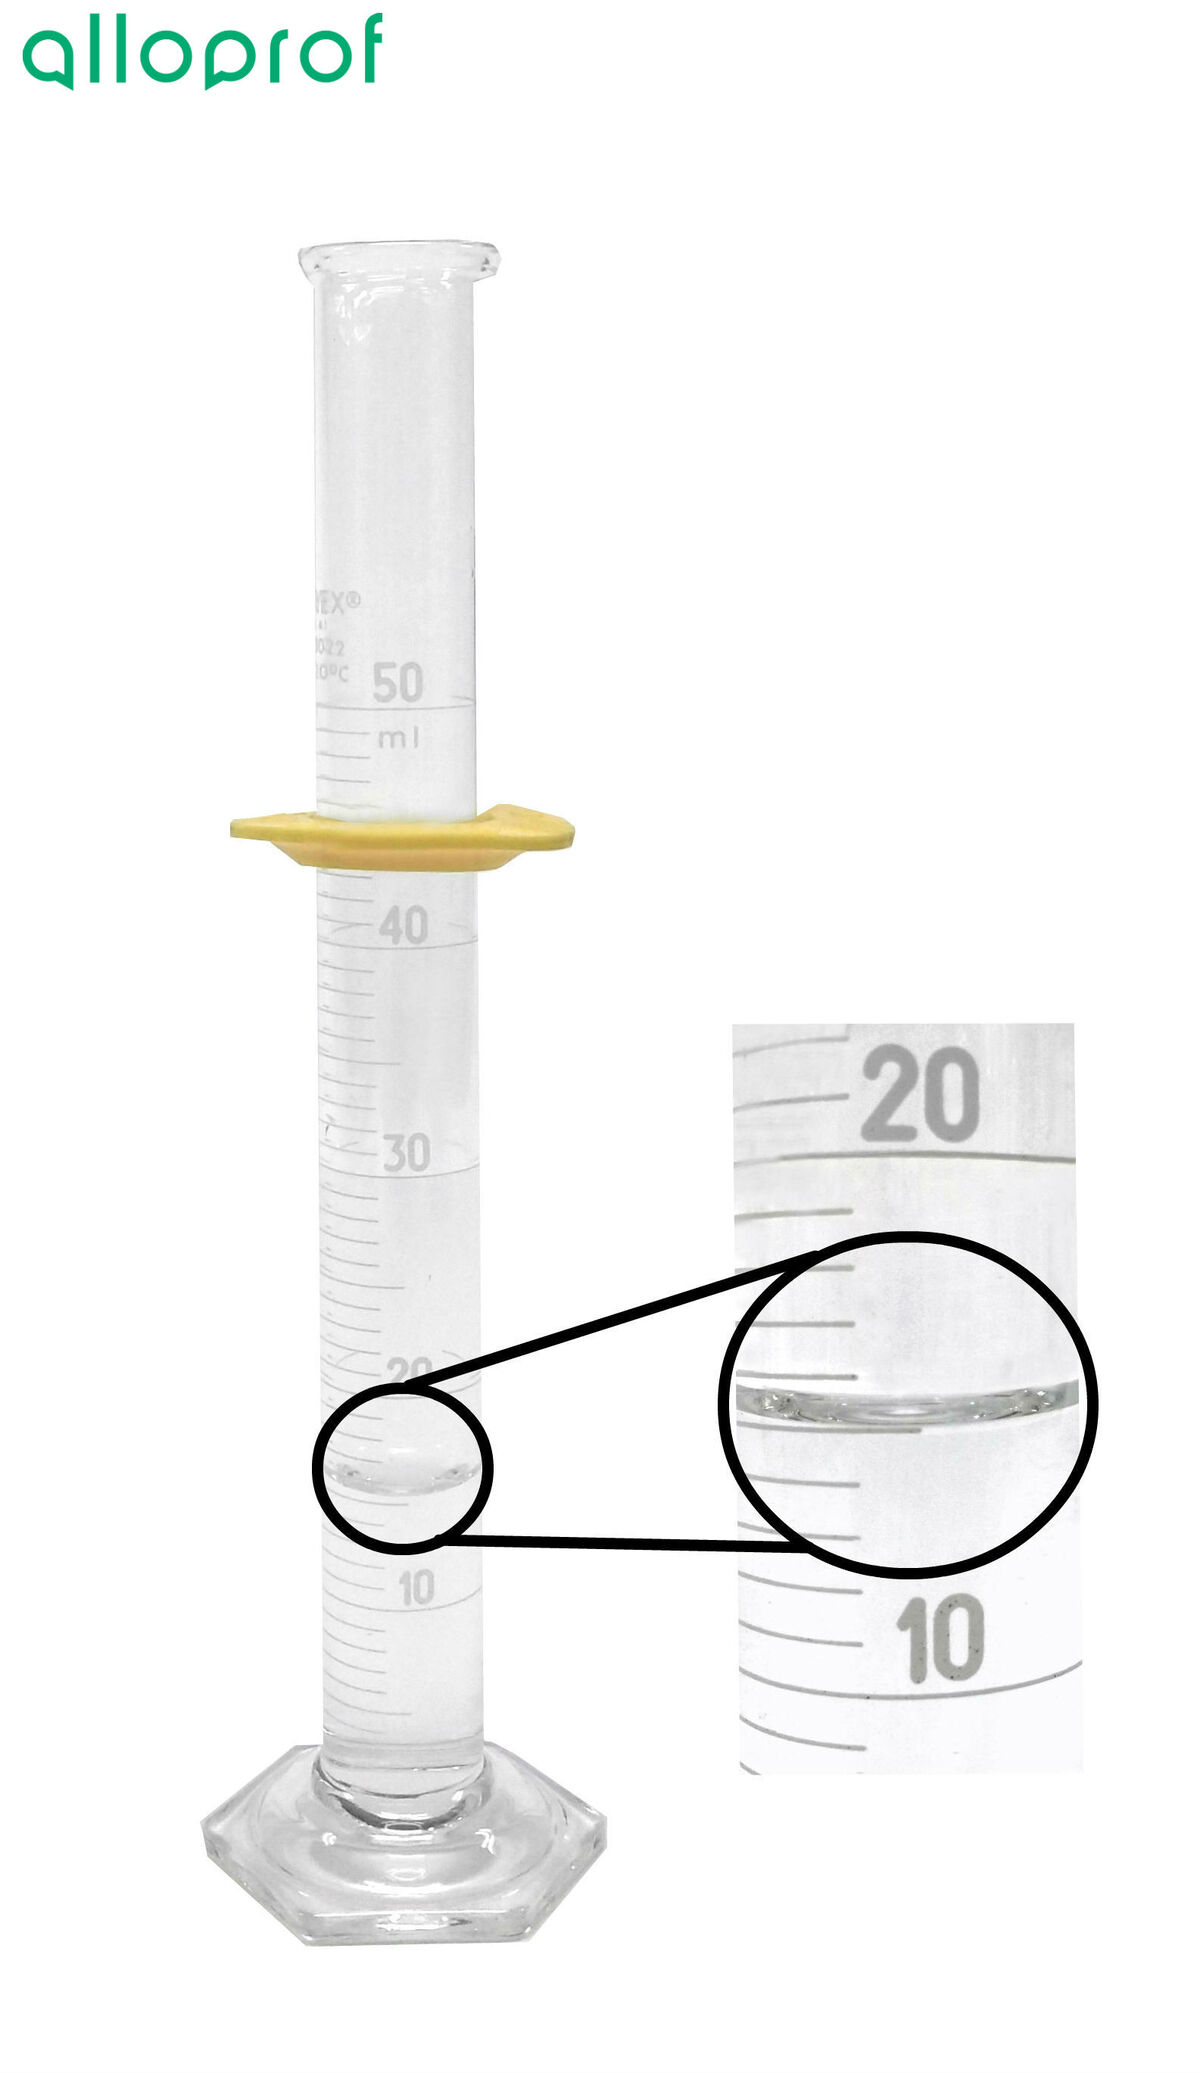
6. Measure the volume of water in the graduated cylinder.
7. Clean and store the equipment.
The density of the mineral can be determined by calculating the ratio between the mass of the mineral and its volume. The mass was determined with the balance. To find the volume, the water displacement method must be used.
|{V}_ {\text{mineral}}={V}_ {\text{water + mineral}}-{V}_ {\text{water}}|
where
|{V}_ {\text{mineral}}| represents the volume of the mineral |(\text {ml})|
|{V}_ {\text{water + mineral}}| represents the volume of water and mineral |(\text {ml})|
|{V}_ {\text{water}}| represents the volume of water placed in the graduated cylinder initially |(\text {ml})|
When the volume has been calculated, the ratio between mass and volume provides the most important data, that is, the density of the mineral.
|\rho =\displaystyle \frac {{m}_ {\text{mineral}}}{{V}_ {\text{mineral}}}|
where
|\rho| represents the density of the mineral |(\text {g/ml})|
|{m}_ {\text{mineral}}| represents the mass of the mineral |(\text {g})|
|{{V}_ {\text{mineral}}}| represents the volume of the mineral |(\text {ml})|
In order to submit clear experimental results, it is important to produce a results table.
Density of the Mineral
| | Mineral to identify |
| |m_{\text {mineral}}| | |\text {g}| |
| |{V}_ {{\text {water}}}| | |\text {ml}| |
| |{{V}_ {\text {water + mineral}}}| | |\text {ml}| |
| |{V}_ {\text {mineral}}| | |\text {ml}| |
| |\rho| | |\text {g/ml}| |
Finally, the density value can be used to identify the mineral. Since this property is characteristic, it allows the identification of a single mineral.
For more information on density, refer to the section on physical properties of minerals.
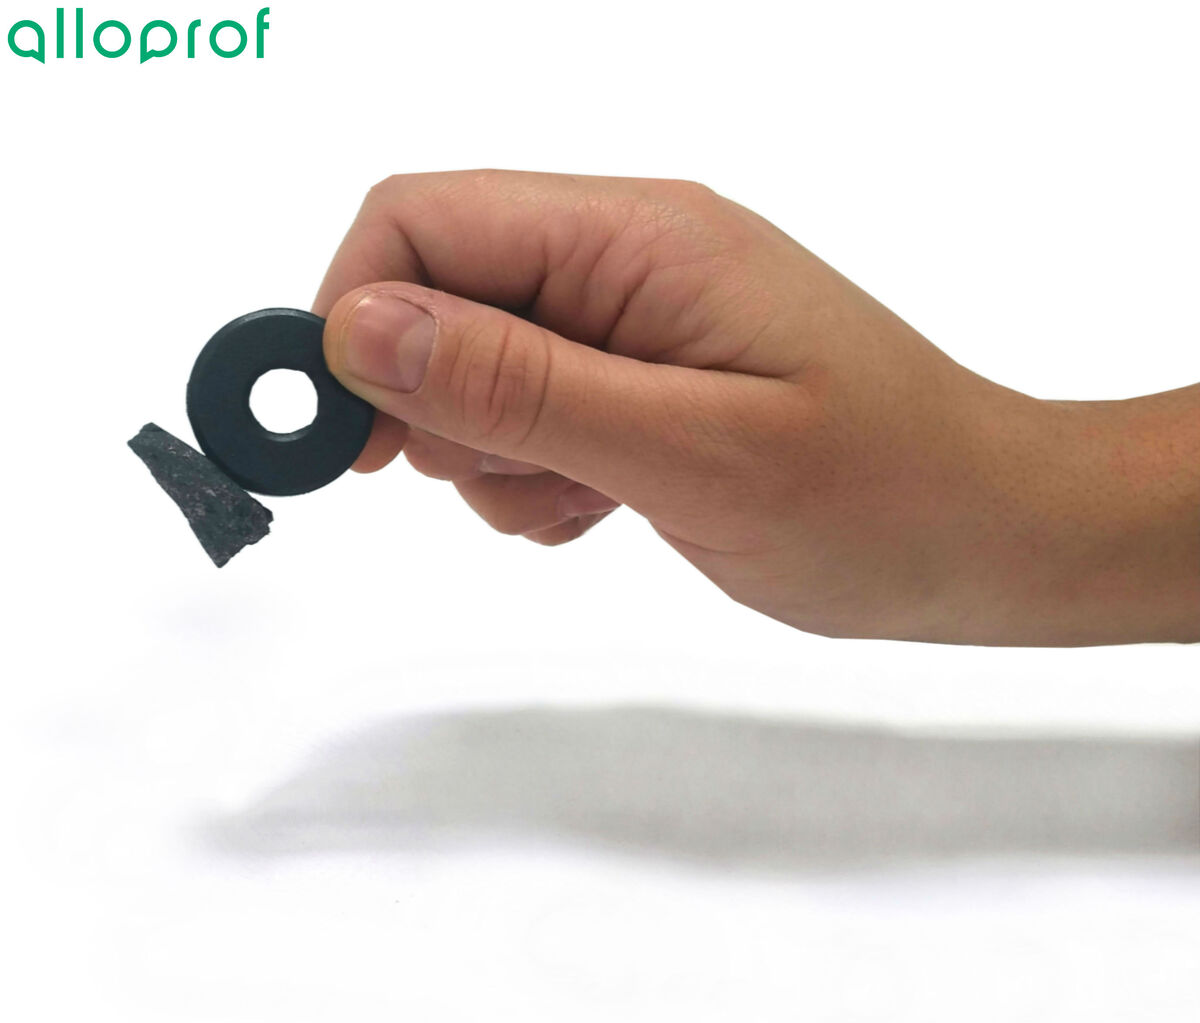
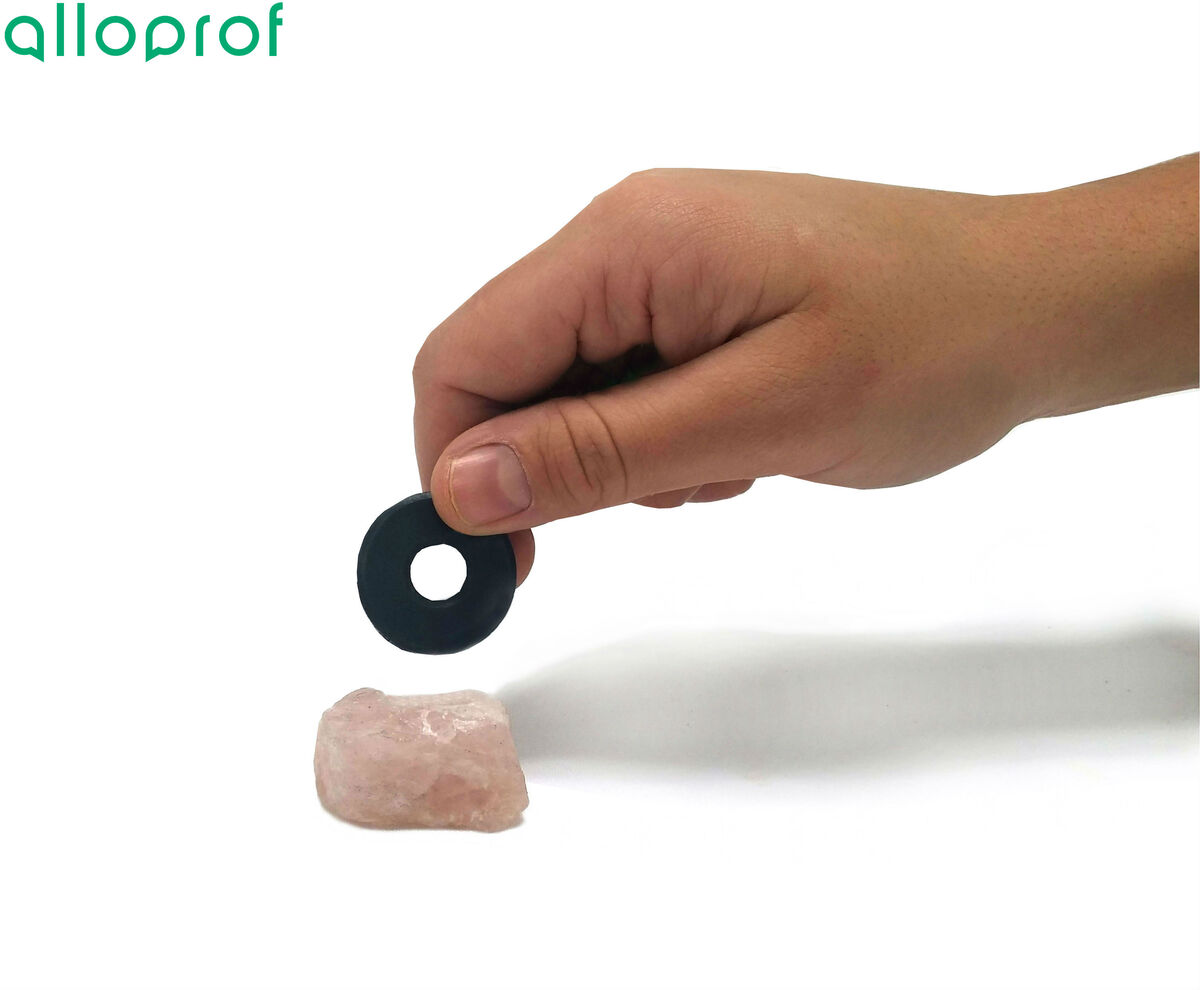
1. Bring a magnet close to the mineral to be identified.
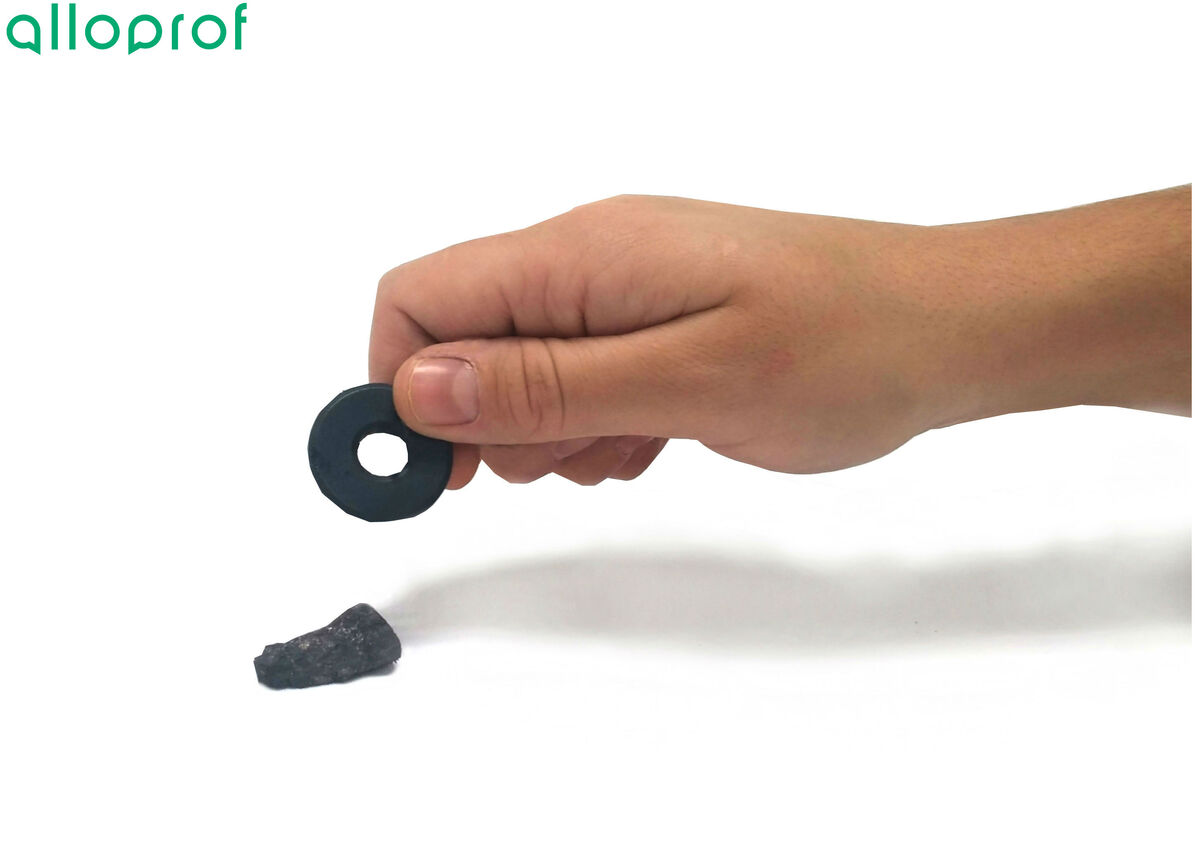
2. Test whether the mineral is attracted or repelled by the magnet.

3. Put away the equipment.
Two results can be achieved in the magnetism test.
For more information on magnetism, see the section on the physical properties of minerals.